
When this Acer Aspire 5 (model N20C4) arrived with us, the issue was immediately clear. The laptop would not charge consistently, and the power cable felt loose when connected. This type of fault often points directly to a damaged or worn DC power jack, which is a common failure point on regularly used devices.
In this case, the internal power socket had suffered mechanical stress over time, leading to weakened solder joints and eventual disconnection from the motherboard.
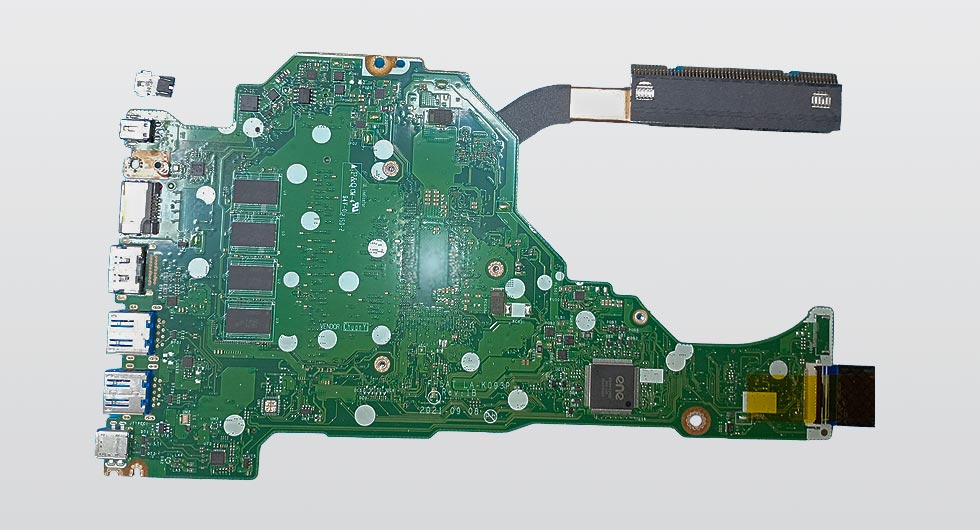
Diagnosing the Fault
A full inspection confirmed that the Acer Aspire 5 power socket was no longer securely mounted. Movement in the port had caused the solder pads to crack, interrupting the flow of power. Left unresolved, this would eventually lead to complete charging failure.
Typical symptoms observed included:
- Intermittent charging when the cable was held at certain angles
- No charging response despite a working charger
- Physical movement within the charging port
Once confirmed, a full replacement of the power socket was required to ensure a reliable and lasting fix.
Precision Removal Using Hot Air
Given that the power jack is directly soldered onto the motherboard, careful removal is essential to avoid damage to surrounding components. For this repair, we used a controlled hot air rework station.
This allowed us to:
- Evenly heat the solder joints without stressing the board
- Safely lift the damaged power jack away from the PCB
- Preserve nearby components and delicate traces
The use of hot air ensures a clean removal process, especially on multi-pin components like DC jacks, where traditional methods alone can risk lifting pads or damaging the board.
Installing the Replacement Power Jack
With the faulty component removed, the area was carefully cleaned to remove any residual solder and debris. This step is crucial to ensure strong new connections.
The new power jack was then positioned and secured using a traditional soldering iron for precision work. Each pin was individually soldered to guarantee a solid electrical and mechanical connection.
The process involved:
- Aligning the replacement jack accurately on the board
- Applying fresh solder to each contact point
- Reinforcing structural pins for long-term durability
This combination of hot air removal and controlled hand soldering provides both efficiency and precision, ensuring the repair meets a high standard.
Testing and Final Checks
Once the new power socket was installed, the laptop underwent thorough testing. Power delivery was restored immediately, with a firm and stable connection when inserting the charger.
Final checks included:
- Verifying consistent charging under movement
- Inspecting solder joints under magnification
- Ensuring no heat damage occurred during the repair
The Acer Aspire 5 was returned fully functional, with reliable charging restored and no further issues detected.
Why This Repair Matters
Power socket failures can easily be mistaken for charger faults or battery issues, but as seen here, the root cause often lies within the motherboard connection itself. Addressing the issue properly with the correct tools and techniques ensures the device remains dependable long term.
This Acer Aspire 5 Power Socket Repair highlights the importance of precision handling and proper soldering methods when working on modern laptop repairs, where components are tightly integrated and require careful attention.